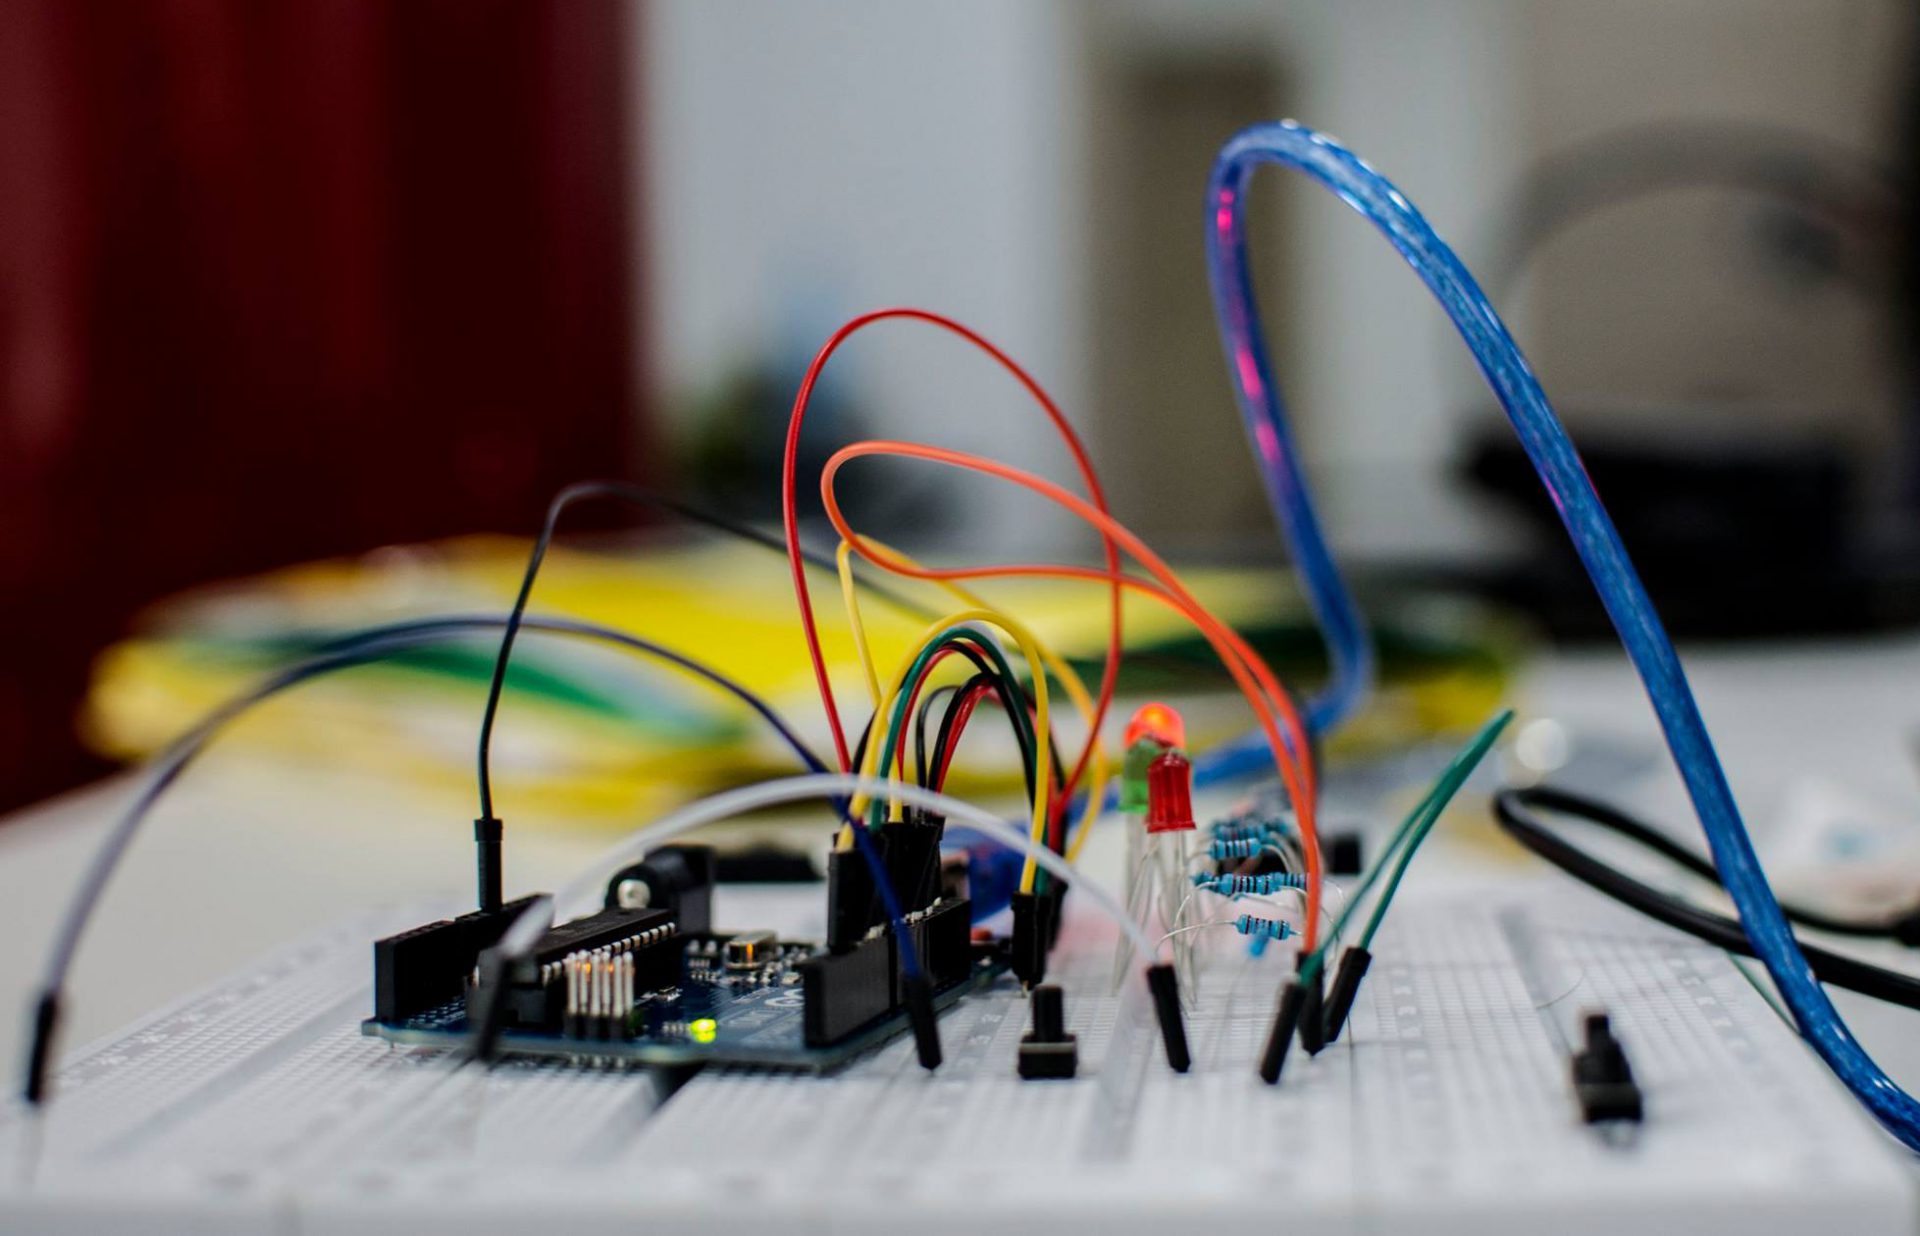
In questo esempio presentiamo come realizzare un sensore capacitivo utilizzando CapBoard e un qualsiasi oggetto conduttivo. L’oggetto da utilizzare come sensore deve essere connesso a una delle nove porte di CapBoard. Nel codice riportato di seguito bisogna impostare la variabile “SensorPin” con il valore della porta utilizzata (D2-D8, D10, D11), mentre la variabile “Emitter Pin” deve sempre rimanere impostata sul valore 12.
Per maggiori informazioni sul funzionamento di questo tipo di sensore consigliamo di visitare la pagina di Arduino dedicata ai sensori capacitivi.
/* Capacitive Sensor Test for CapBoard Turns on and off a LED
connected to the port defined by the variable LedPin according
to the state of a capacitive sensor connected to the port
defined by the variable SensorPin.

To use this sketch you need to install the CapacitiveSensor library.
Follow this link to download the library:
http://playground.arduino.cc/Main/CapacitiveSensor?from=Main.CapSense

This example code is in the public domain.

Artis Lab - 2016
www.artislab.it
info@artislab.it */

#include <CapacitiveSensor.h>

boolean isTriggered1=false;
int Threshold=300; //Change this value to calibrate the sensor
//Use the serial monitor to find the value provided by your sensor
int Samples=30;
int LedPin=13;
int SensorPin=2;
int Emitter=12;
CapacitiveSensor CapSensor = CapacitiveSensor(Emitter,SensorPin);

void setup(){
     pinMode(LedPin,OUTPUT);
     //uncomment the next line if you want to enable the serial
     //communication with the laptop
     Serial.begin(9600);
}

void loop(){
     long total1=CapSensor.capacitiveSensor(Samples);
     //uncomment the next line if you want to send the
     //sensor data to the laptop over the serial communication,
     //comment this line if you want to send the sensor state
     //over the serial with Serial.write!!!
     Serial.println(total1);
     if(total1>Threshold) {
           if(!isTriggered1) {
               digitalWrite(LedPin,HIGH);
               //Uncomment the following line to send data over the serial
               //Serial.write(1); //Sensor State
               //Serial.write(206); //Sensor ID
               isTriggered1=true;
               //Uncomment the following line to print the state of the sensor
               //Don't use it togheter with Serial.write!!!
               //Serial.println("CapSens-On");
           }
     } else {
           if(isTriggered1) {
               digitalWrite(LedPin,LOW);
               //Uncomment the following line to send data over the serial
               //Serial.write(0); //Sensor State
               //Serial.write(206); //Sensor ID
               isTriggered1=false;
               //Uncomment the following line to print the state of the sensor
               //Don't use it togheter with Serial.write!!!
               //Serial.println("CapSens-Off");
           }
     }
}
Per problemi, curiosità e suggerimenti non esitate a contattarci.

Heya i’m for the primary time here. I found this board and I find It truly helpful & it helped me out much.
I hope to present something again and aid others like you
aided me.